Get Your Deposit Back: How to Document an Off-Road Rental Return Like a Pro
You survived the trail. You made it back in one piece, the rig is running, and all you want is a hot shower and a cold drink. The last thing you're thinking about is pulling out your phone and playing detective in a rental lot.
But here's the thing — that five or ten minutes you spend documenting the vehicle return could save you hundreds of dollars and a whole lot of frustration. Rental disputes happen. Sometimes they're honest mistakes. Sometimes they're not. Either way, the person with the best documentation almost always wins.
Here's how to handle the return like someone who's done this before.
Start Before You Even Pull In
Don't wait until you're parked at the drop-off spot to start thinking about documentation. On your final leg back, do a quick mental inventory of anything that happened during the trip — a brush against a low branch, a harder-than-expected rock crawl, a scrape you noticed on day two. You don't need to panic about any of it, but you do need to be aware of it.
If the rental company did a thorough pre-rental inspection with you (and they should have), you already have a baseline. Pull up whatever photos or paperwork you took at pickup. You're going to compare that baseline to what you're returning.
Park the vehicle in good light before you hand over the keys. If the lot is dark or covered, ask to move it somewhere you can actually see the panels. Natural daylight is your best friend here.
The Photo Protocol That Actually Holds Up
This isn't about snapping a few quick shots and calling it good. You want a complete, timestamped visual record that tells a clear story.
Here's the approach that works:
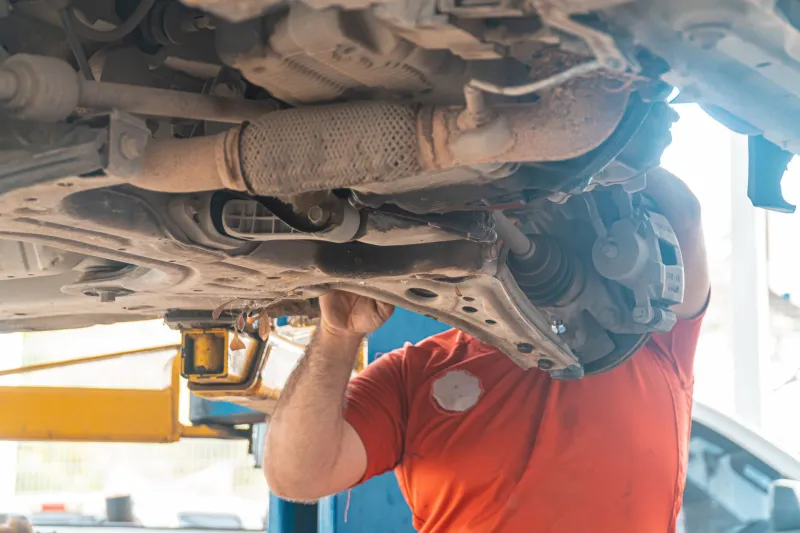
Walk the full perimeter first. Go all the way around the vehicle — roof, hood, all four corners, all four sides, and the undercarriage if you can safely get eyes on it. Don't skip anything.
Shoot wide, then close. For each panel, take one wide shot showing context (the whole door, the whole fender) and then a tight shot of anything that catches your eye — a scuff, a mud line, existing wear. If something looks like it might be questioned later, photograph it from two angles.
Include the odometer and fuel gauge. These are often overlooked, but they matter. A photo of the dash showing mileage and fuel level protects you from disputes about fuel charges and usage.
Capture the interior. Seats, floor mats, cargo area — especially if you hauled gear, bikes, or anything that could leave marks. If there's a smell issue, note it in writing.
Photograph the tires. Sidewall damage is a common dispute point on off-road rentals. Get a clear shot of all four tires showing tread and sidewall condition.
Use your phone's native camera so the timestamp is embedded in the file metadata. If you use a third-party app, make sure it also logs time and location data.
Normal Wear vs. Actual Damage — Know the Difference
Off-road rigs take a beating by design. They're built for it. But not every scratch or scuff is your financial responsibility, and knowing the difference matters when you're standing in that parking lot.
Normal wear on adventure vehicles typically includes: light rock rash on the rocker panels and lower body, minor trail dust and debris embedded in exterior surfaces, small stone chips on the hood and front bumper, and surface scratches on skid plates. These are the expected results of a vehicle doing exactly what it's rented to do.
Legitimate damage worth flagging — and documenting clearly if it wasn't there before you took it out — includes: cracked or shattered lights, bent or cracked bumpers, punctured sidewalls, deep gouges that go through paint to bare metal, and any structural or mechanical issues.
If you're returning the rig with damage that happened on your watch, the honest move is to report it. Most rental companies respect that. What gets messy is when pre-existing damage gets pinned on a renter who didn't document it at pickup. That's exactly why your pre-rental photos matter just as much as your return photos.
The Return Walk-Through: Don't Skip It
Whenever possible, do the final inspection with a company rep present and walk through it together. Point out anything you're noting, and ask them to note it too.
If they find something they consider damage, ask them to show you exactly what they're referencing and photograph it right then. Don't be confrontational — just be thorough. Something like, "Can you show me exactly where you're seeing that? I want to make sure I have a clear record of it." is completely reasonable.
Get written confirmation of the return condition at the time of drop-off. Even a simple email from the rep saying "vehicle returned, no new damage noted" is gold if something comes up later.
If the lot is unstaffed or it's an after-hours return, use their official drop-box process and send yourself a timestamped email immediately after dropping the keys — something as simple as "Returned [vehicle name] at [lot address] at [time]. Photos attached." That email chain creates a paper trail that's hard to dispute.
If a Dispute Comes Up Anyway
Sometimes you do everything right and still get a damage claim in your inbox a week later. It happens. Here's how to respond.
First, don't panic and don't ignore it. Respond in writing — email is better than a phone call because it creates a record. Be calm, be specific, and lead with your documentation: "I'm attaching timestamped photos taken at the time of return showing the vehicle's condition. The damage referenced in your claim does not appear in these images."
If the rental company used a third-party damage claims processor (common with larger operations), you can dispute directly with them and escalate to your credit card company's dispute process if needed. Most major credit cards have solid protections for exactly this kind of situation.
Keep every piece of communication. Don't delete emails. Don't let them push you to resolve it over the phone only — always follow up a phone conversation with a written summary sent via email.
The Bottom Line
Returning an off-road rental isn't just about handing back the keys. It's the final step in a process that protects both you and the company — and the renters who get burned are almost always the ones who treated it like an afterthought.
Five minutes with your phone camera. A walk-around in good light. A quick email to yourself. That's all it takes to build a record that keeps your deposit where it belongs: back in your account.
The trail was wild. The return? Keep that part boring and bulletproof.